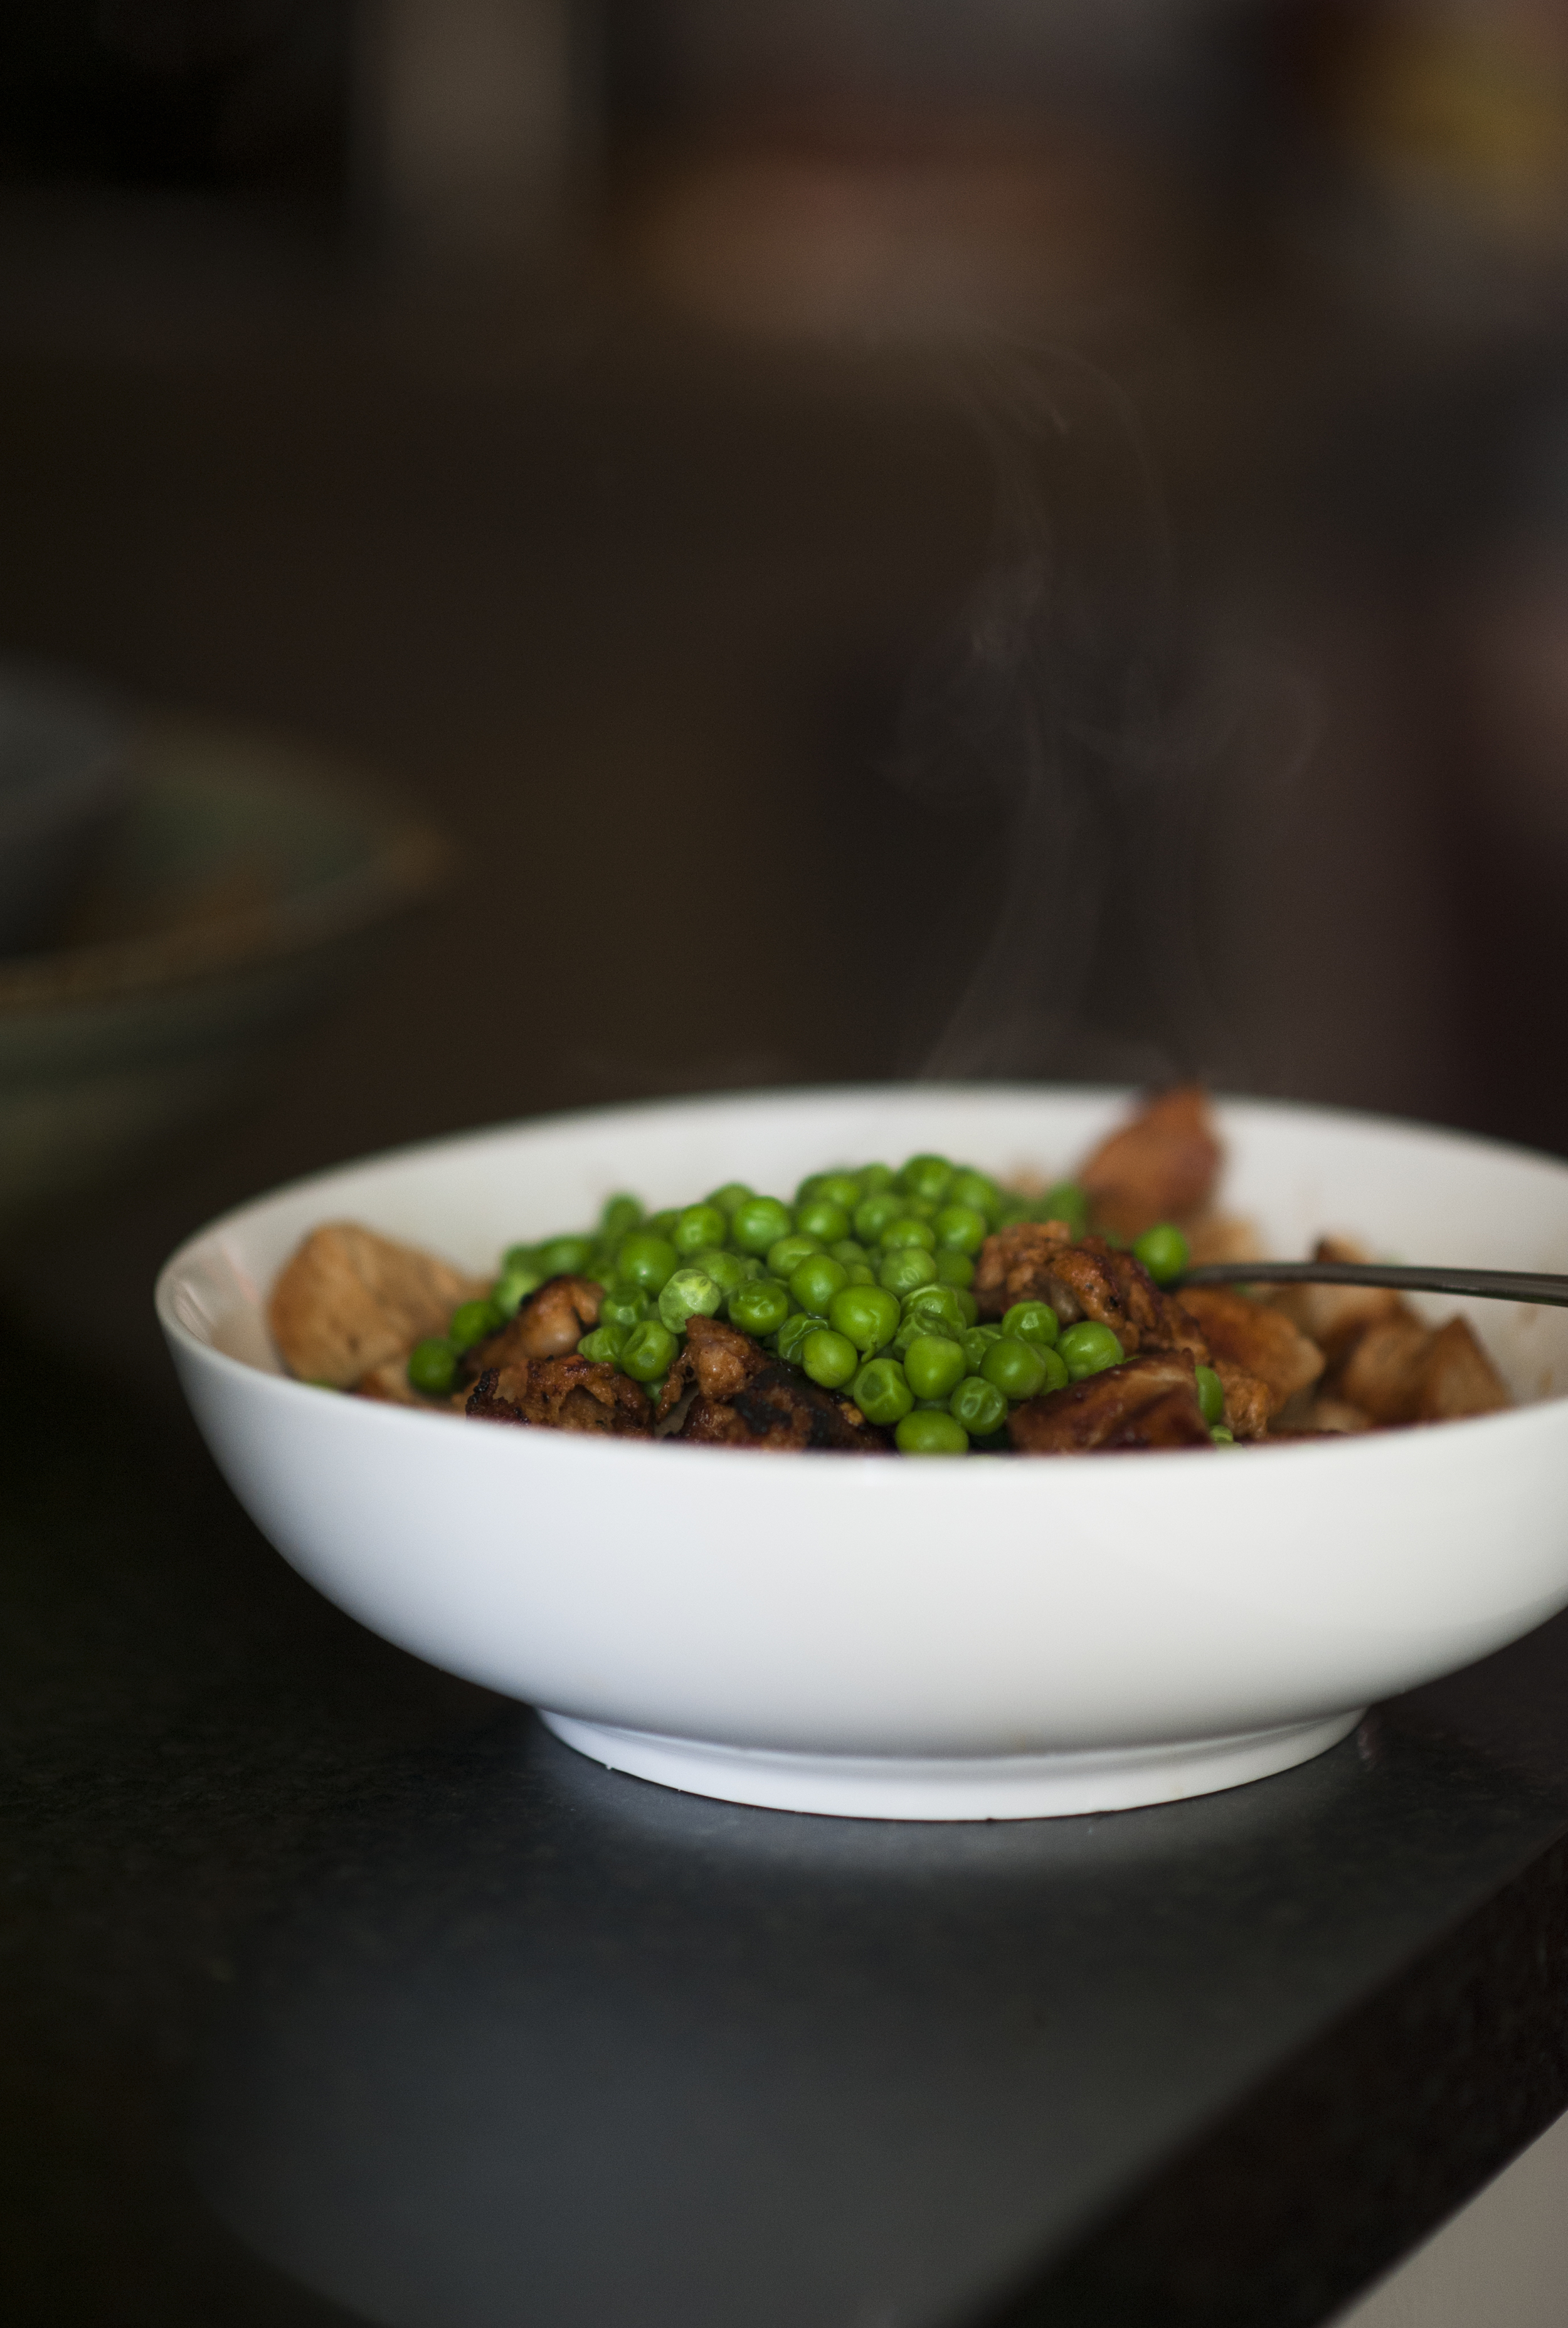
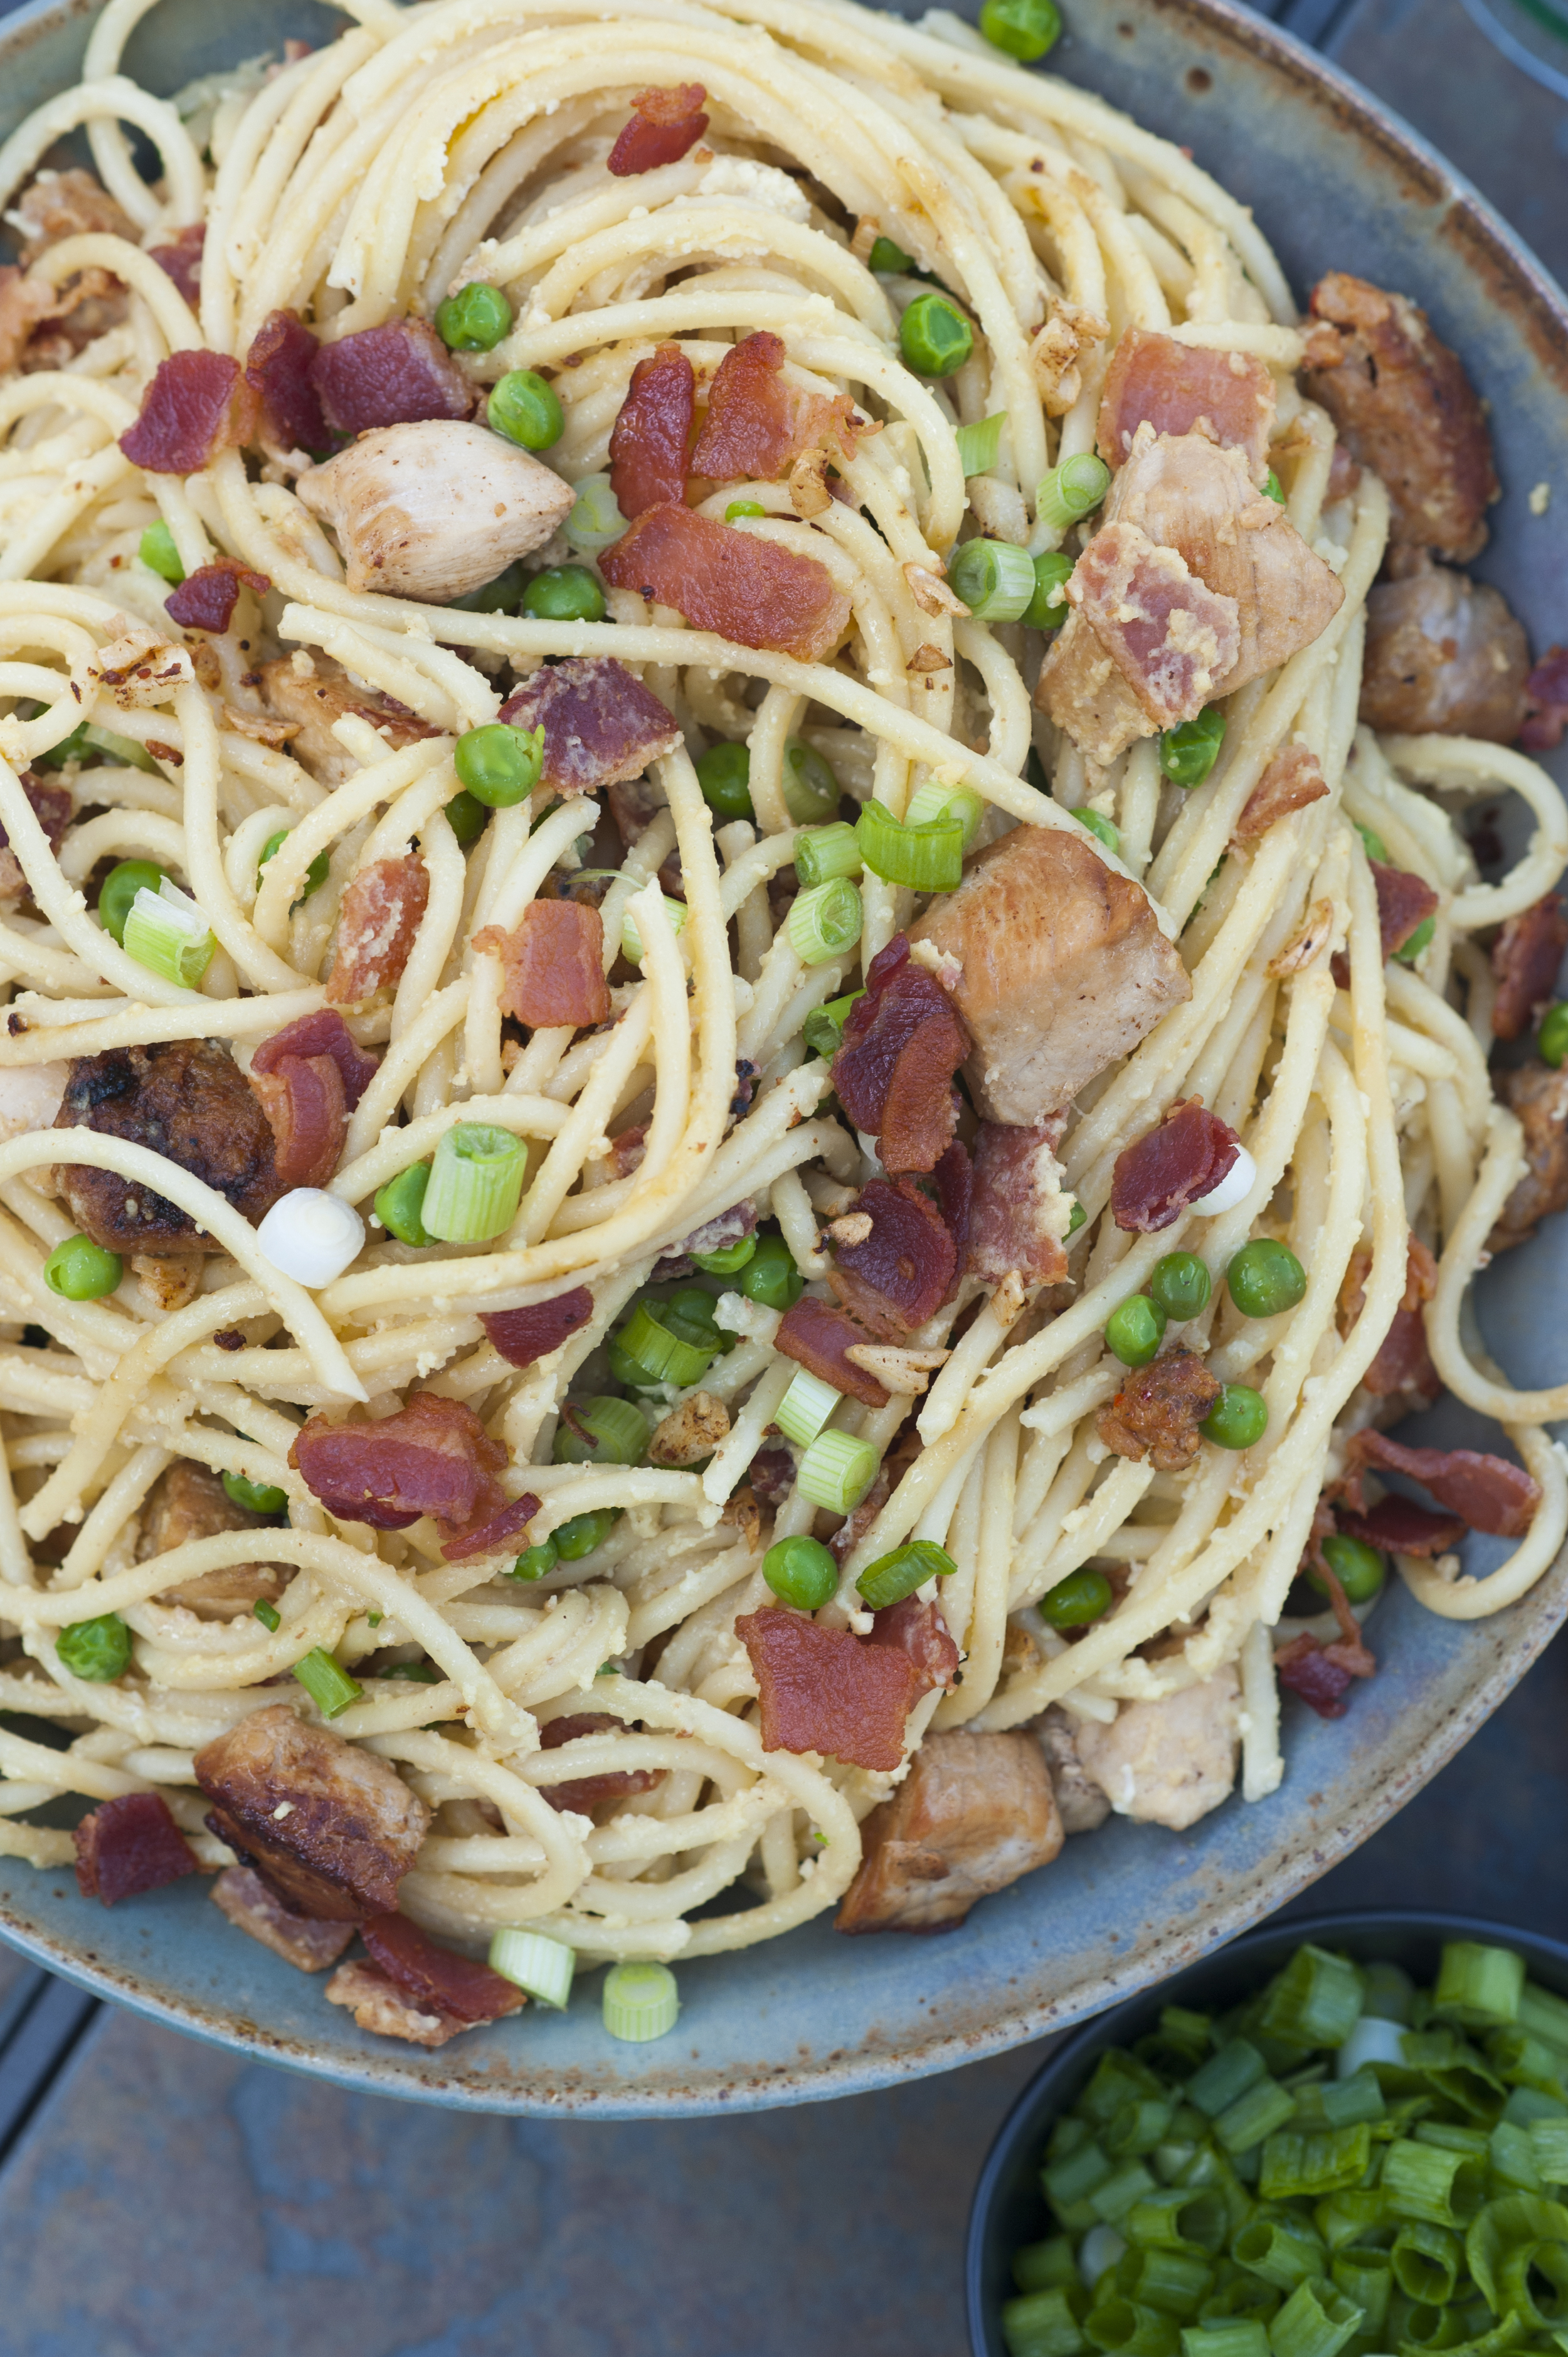
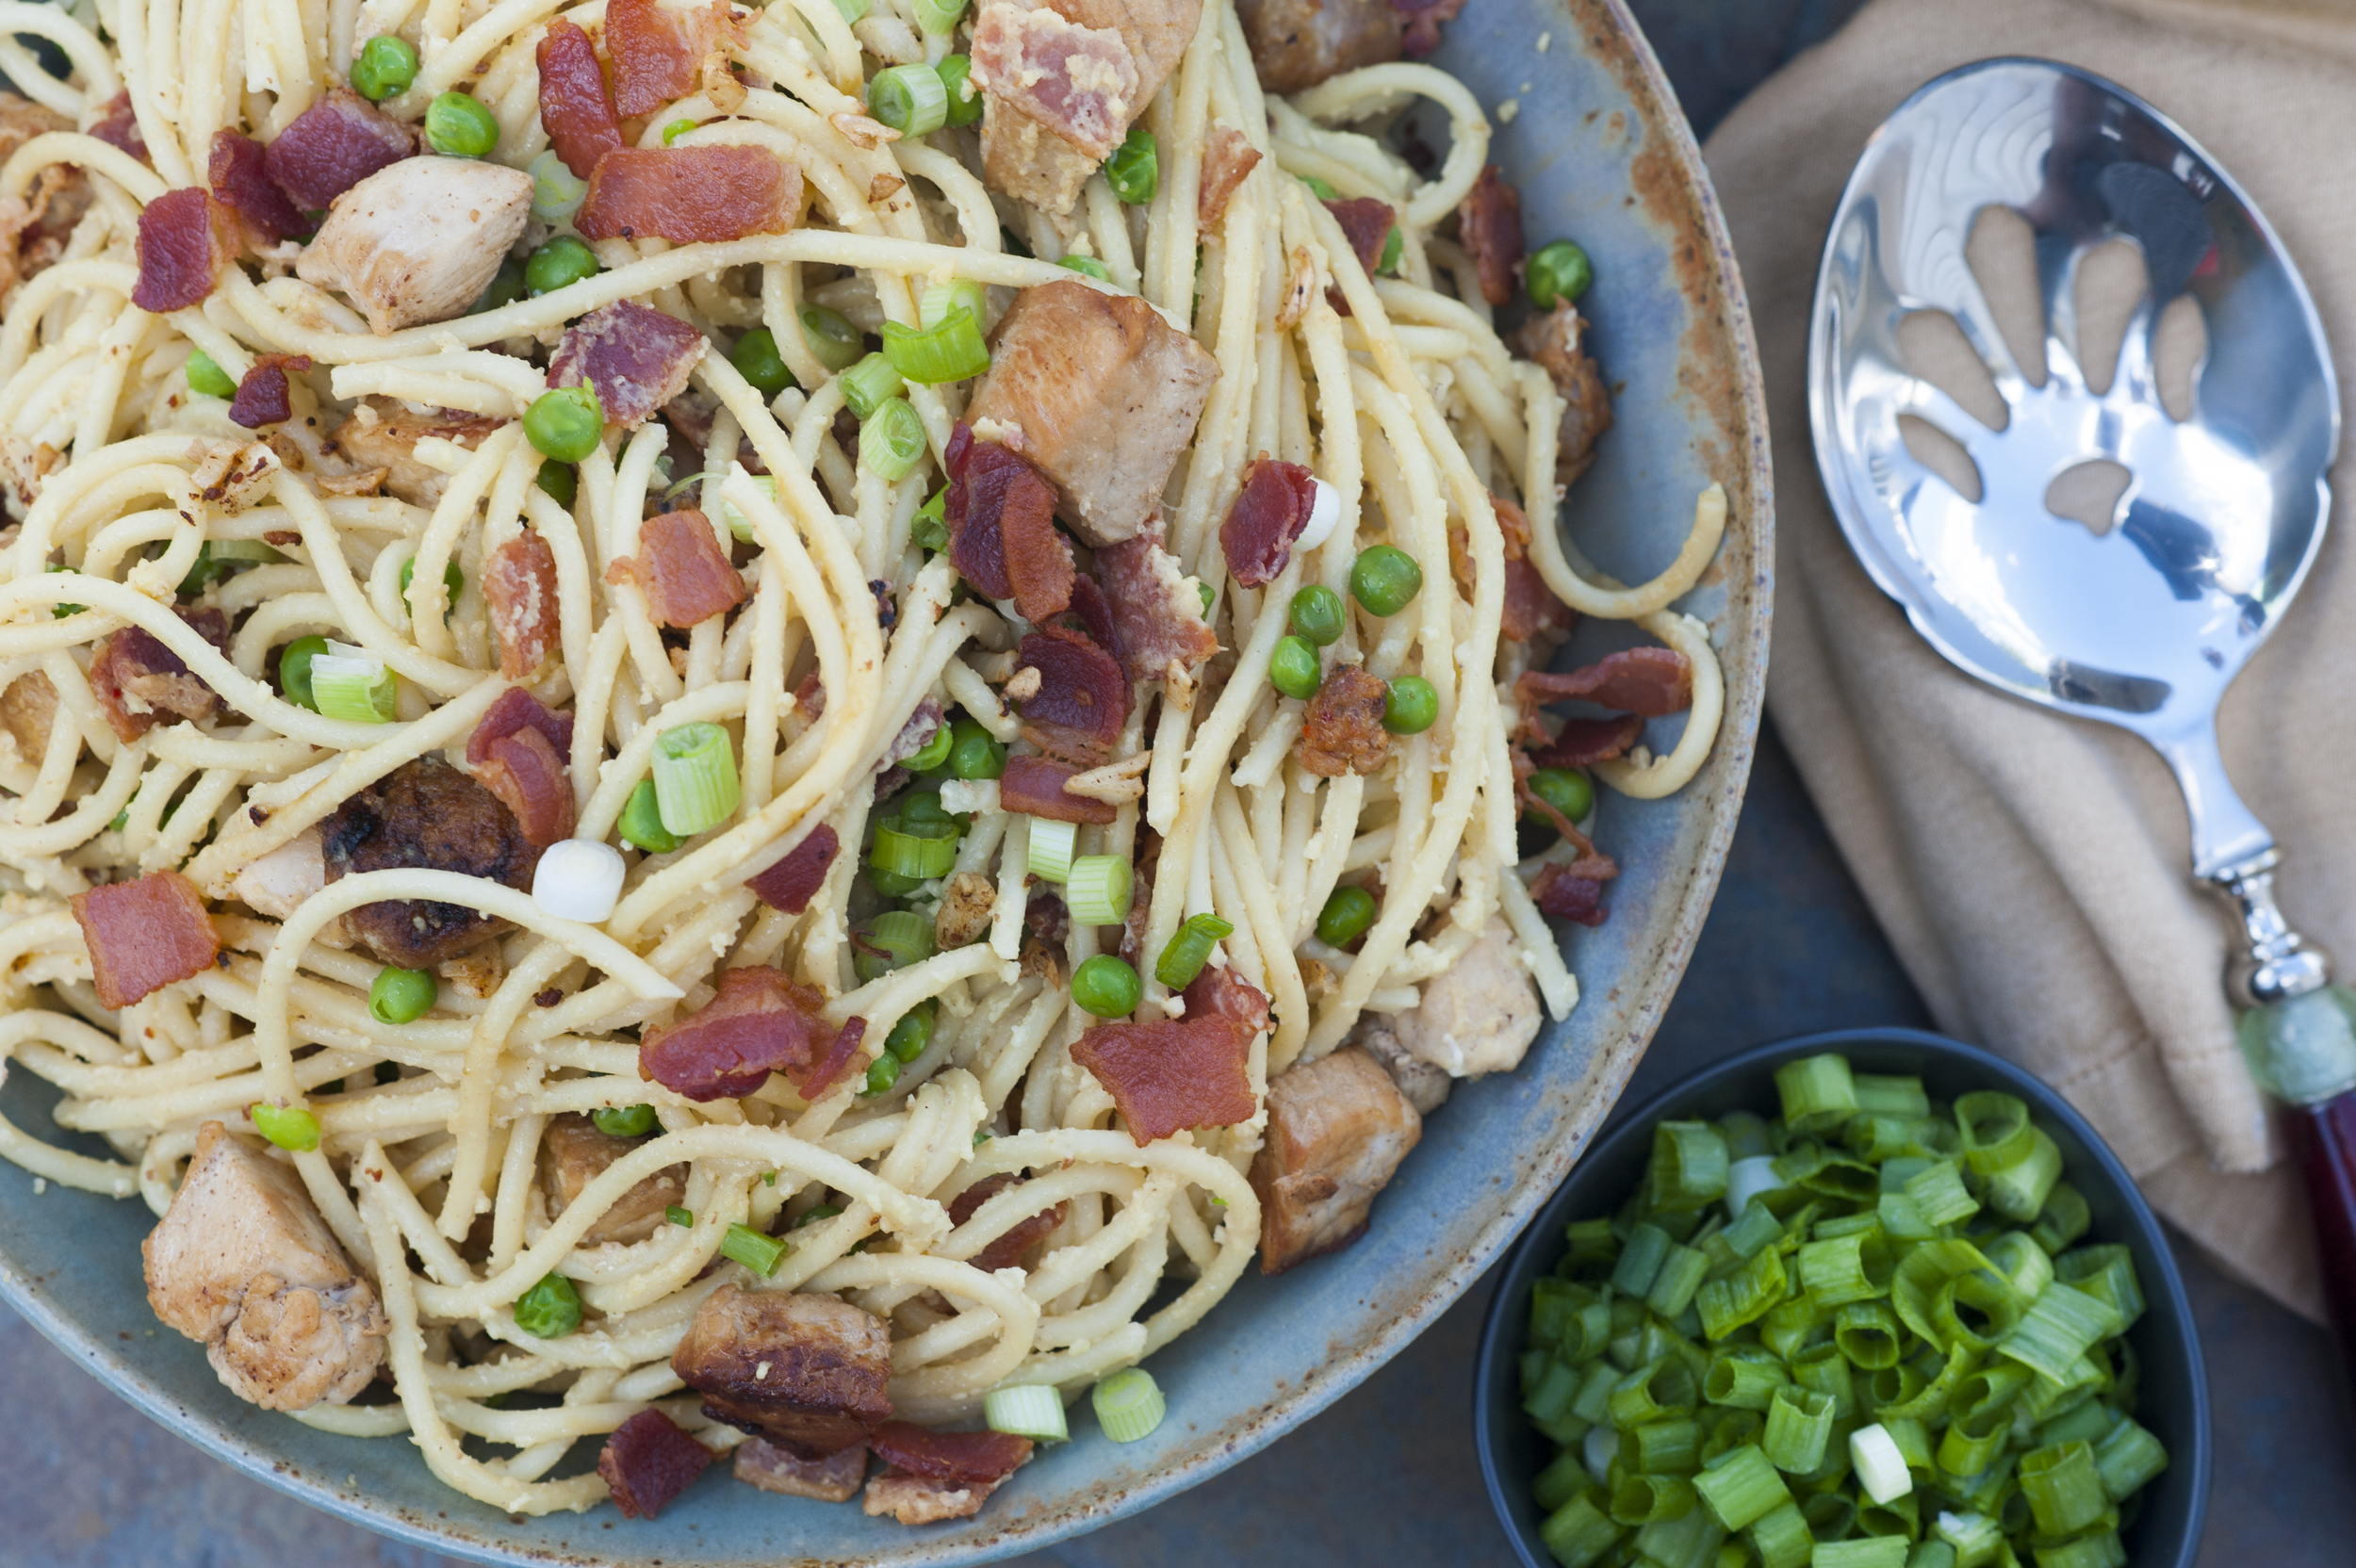
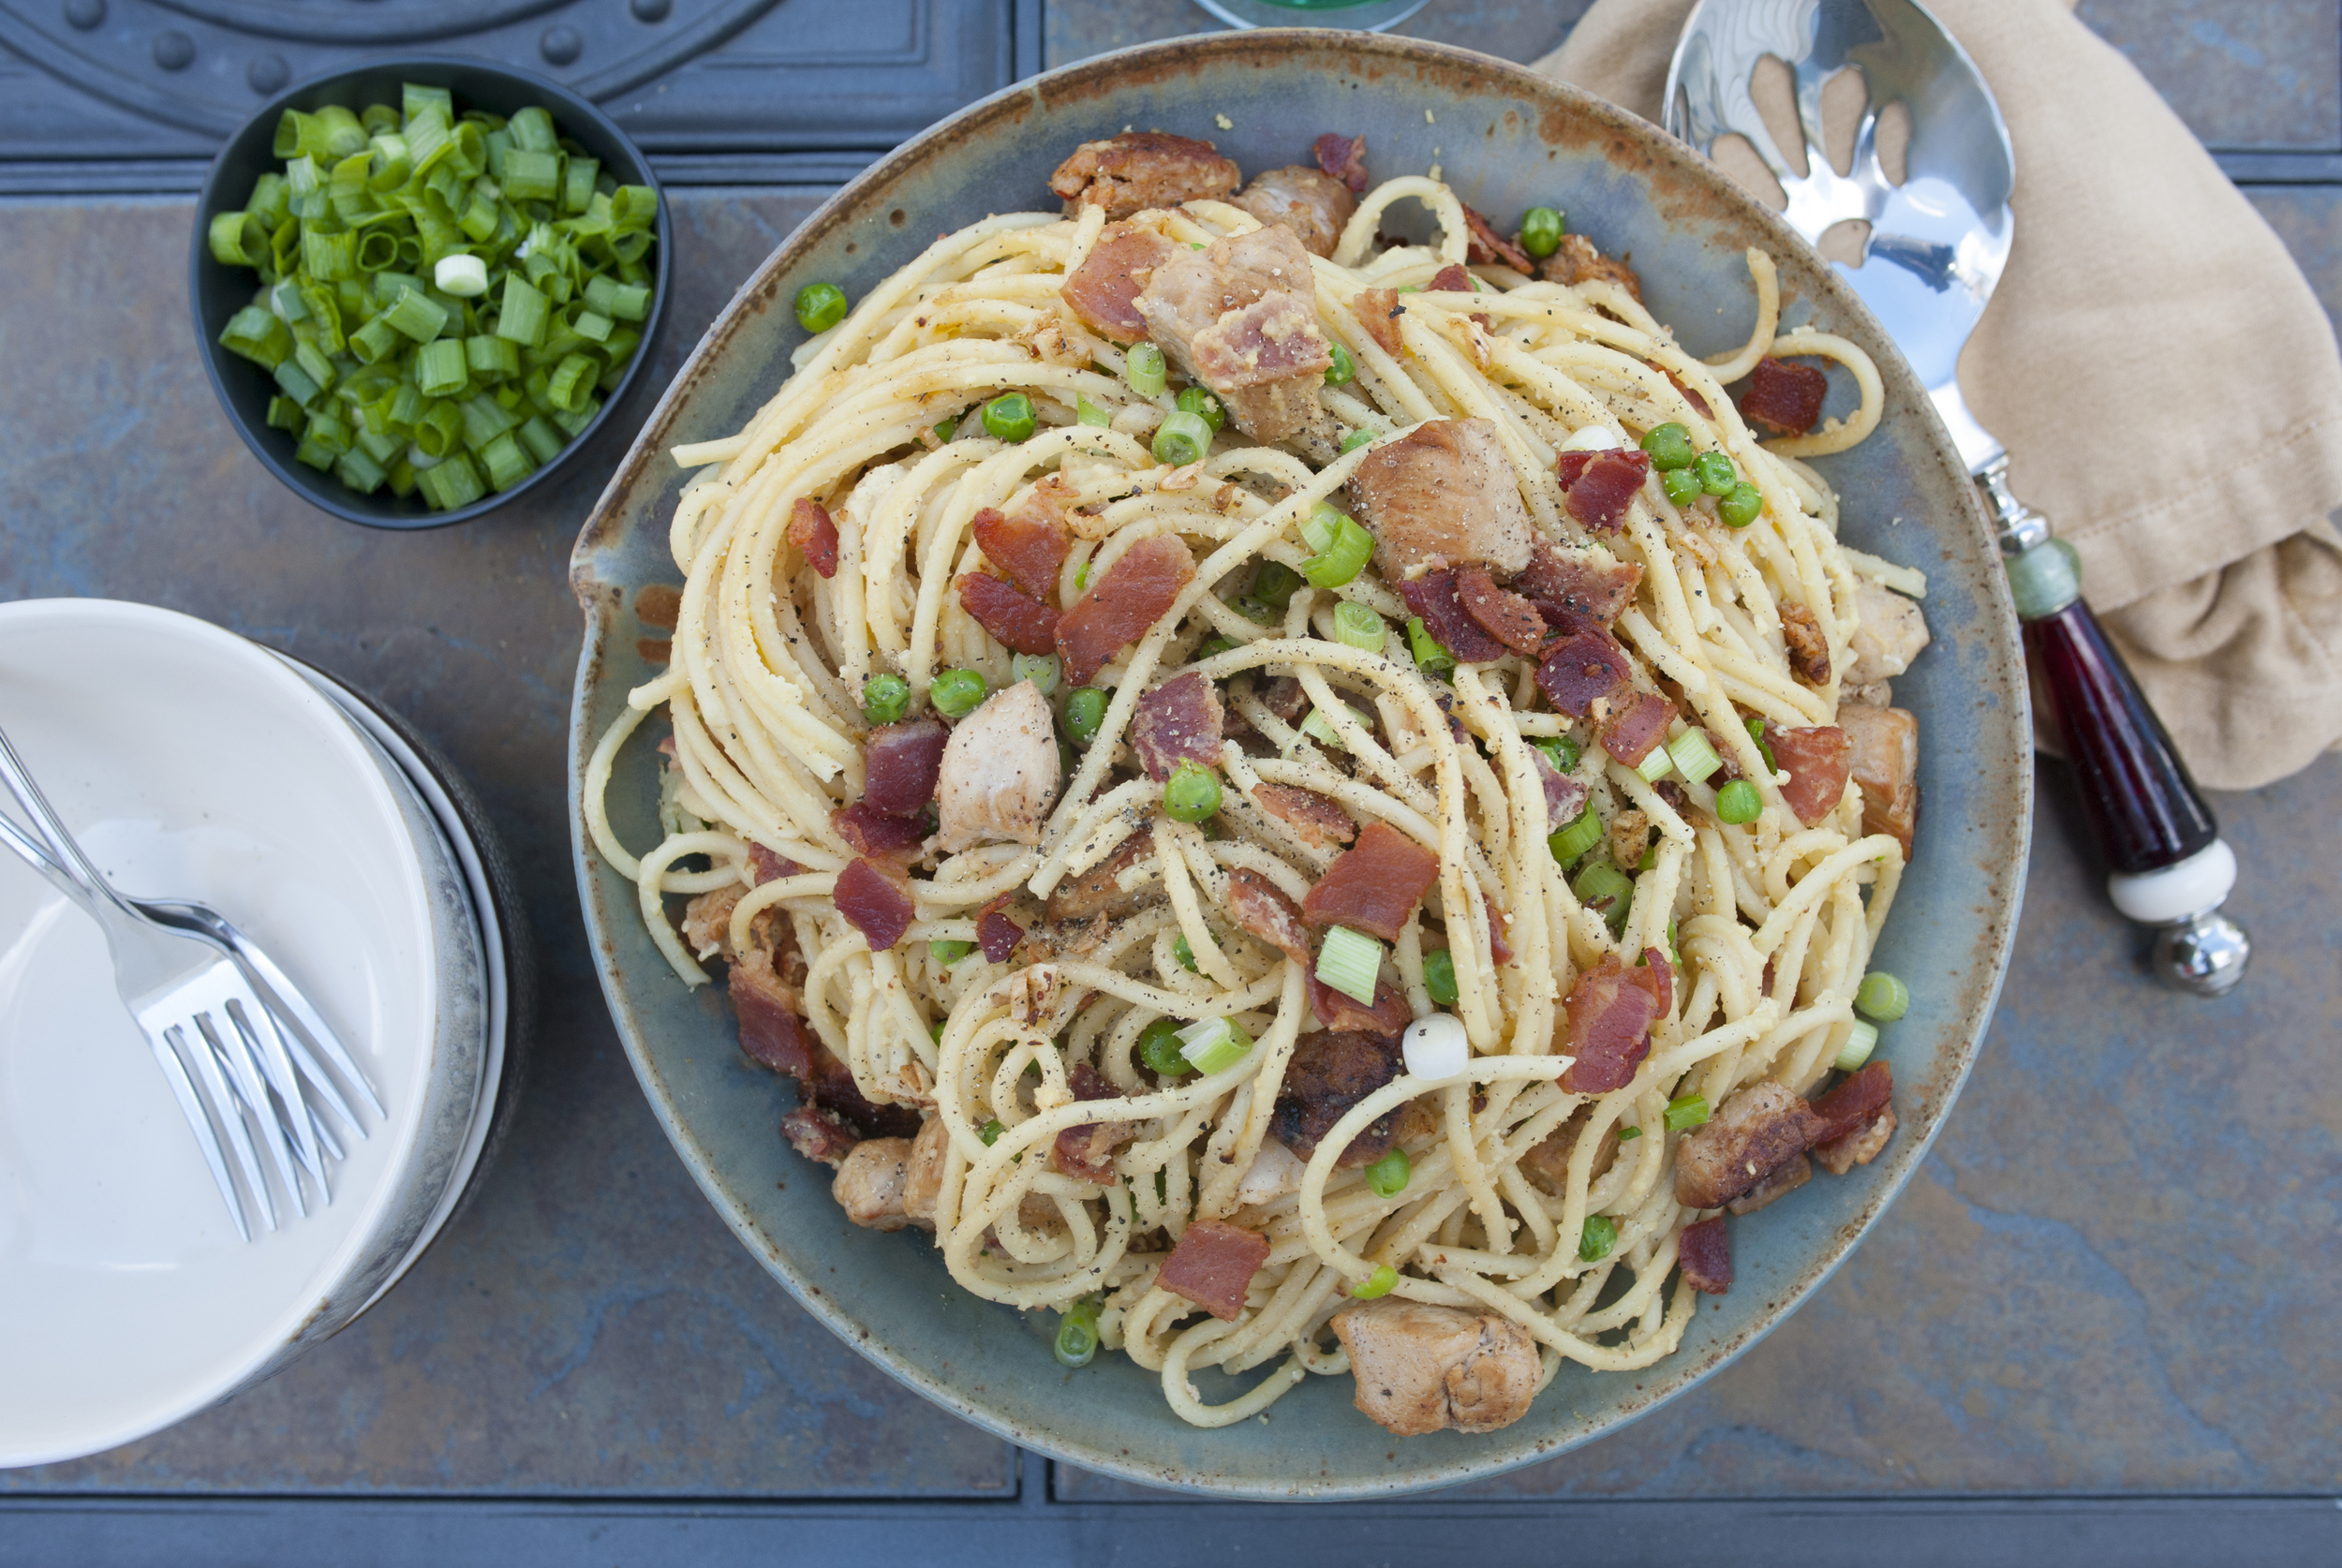
Kitchen Sink Carbonara
And so, Kitchen Sink Carbonara was born.
The Pasta
1 pound box of buccatelli (this is my new favorite pasta with its thicker-than-spaghetti shape and a hole running down the center to trap a little of the sauce!)
The Kitchen Sink
½ pound bacon, cut into ½ inch pieces
2 cloves garlic, sliced
1 boneless pork chop, cut into ½ inch cubes
1-2 boneless skinless chicken breasts (2 if they’re small), cut into ½ inch cubes
1 large link spicy chicken sausage, casing removed, broken into pieces
½ cup frozen peas (or fresh…even better!)
The Sauce
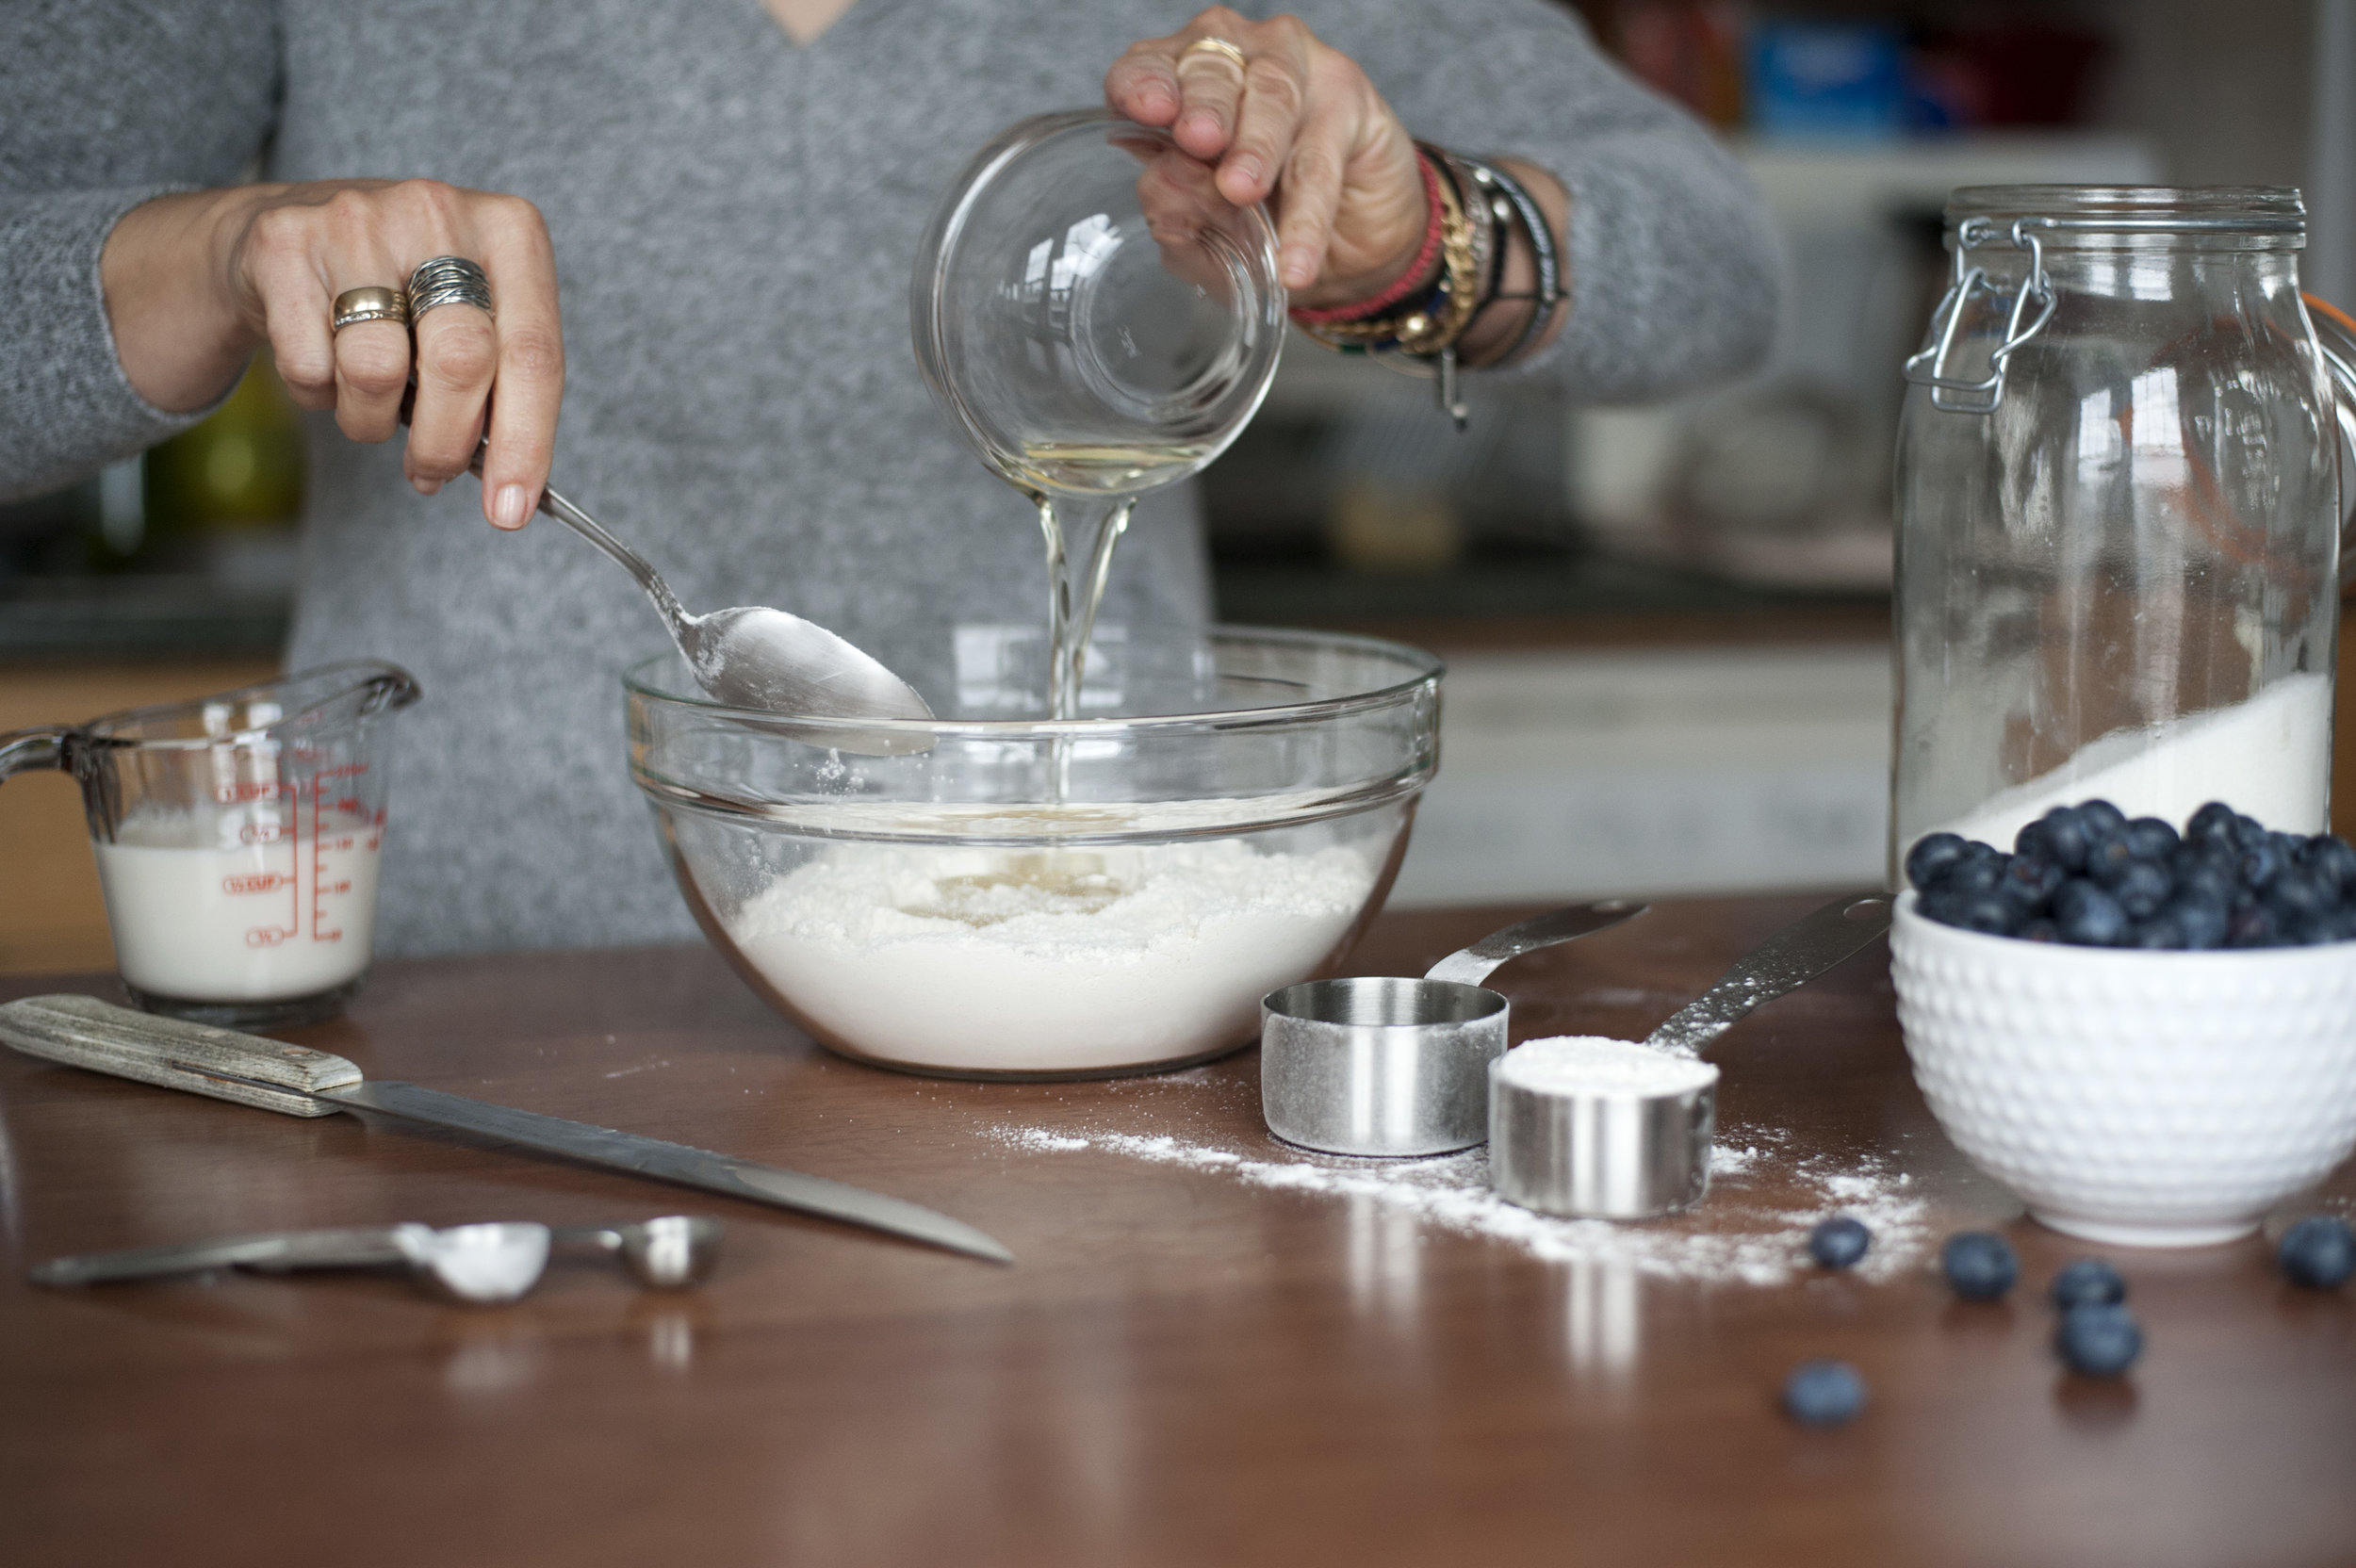
3 eggs, slightly beaten, room temp
1 cup grated parmesan cheese + more for garnish
Salt and freshly ground black pepper to taste
3 scallions, white and green parts, thinly sliced (substitute fresh snipped chives for a milder taste)
About ¼ cup reserved pasta water
First Things First…
Set the eggs out and bring to room temp about a half hour before beginning (if you’re like me and rarely plan ahead, just place the eggs in a bowl of warm water for about 5 minutes while you’re prepping the rest of the recipe.) Once the eggs are room temperature, crack them into a bowl and beat them gently; then whisk in the grated parmesan cheese. Set aside.
Fill a stockpot with water, salt generously, and bring to a boil so it will be ready for your pasta.
For the Kitchen Sink…
Using a cast iron skillet on medium heat, cook the bacon until crispy. Use a slotted spoon to remove the bacon from the drippings and set aside to drain on a paper towel.
Reduce heat to low and add the sliced garlic to the bacon drippings; cook for about a minute until golden. Careful not to burn – burnt garlic is not yummy! When the garlic looks golden, use your slotted spoon to remove it from the drippings. You can put it with the cooked bacon if you want bits of garlic in your final dish, or, if you are feeding a group that doesn’t like too much garlic, you can discard them. In any case, your drippings now have a lovely garlic essence which will be a delicious note in your final pasta dish! Drain most (but not all) of the drippings into a small bowl until ready to use.
Your skillet should still have a nice coating of drippings on the bottom, so back onto stove it goes, medium-high this time. You should cook each of your meats separately as they will take varying times to cook properly. I have a little trick that makes them brown and caramelized on the outside but juicy on the inside. The same trick applies to both pork and chicken. When the skillet is nice and hot, toss in your cubed chicken and sprinkle with a little salt and pepper. Sear the cubes on all 4 sides, turning as necessary. When the chicken is seared nicely, but still pink in the middle, carefully add about 2 tablespoons of water and cover quickly with a lid (if you don’t have a lid that fits your skillet, an upside down metal mixing bowl works well as a dome, or I’ve even used a dinner plate in a pinch!). I say carefully because it will spatter a bit and once “lidded”, it will spew a little steam. (For the record, you never add water to hot grease, as that is a fire hazard, but in this case, your chicken is not floating in grease!) This technique will make your meat juicy and tender. Leave it “lidded” only for about a minute or two, then remove the lid and let the rest of the liquid cook off (you don’t want your meat to boil or it will become tough). As soon as the chicken is done, remove to a bowl, cover with foil, and set aside.
Repeat this process with the pork. You may need a few spoons of the bacon drippings for the bottom of your pan for this second round of meat.
Once the chicken and pork are cooked, covered, and set aside, cook the sausage in the same skillet until brown. You won’t need the water-and-dome trick for this one as it will stay plenty moist, just be sure that the sausage is completely cooked through per package instructions. Add cooked sausage to your bowl of chicken and pork.
For the Pasta…
If you’re really savvy, you can cook your pasta while you’re cooking the meats just to cut down on time. It’s up to you and how well you juggle! You just don’t want your pasta done before your meat, as assembly has to happen while the pasta is steaming hot.
Follow the instructions on the box and boil the pasta in salted water until al dente. BUT, about 2 minutes BEFORE the pasta is done cooking, toss in your frozen peas (earlier if using fresh peas.) Reserving about ¼ cup of the pasta water in a separate bowl, drain the pasta/peas and quickly toss them back into the pot.
For the Sauce…
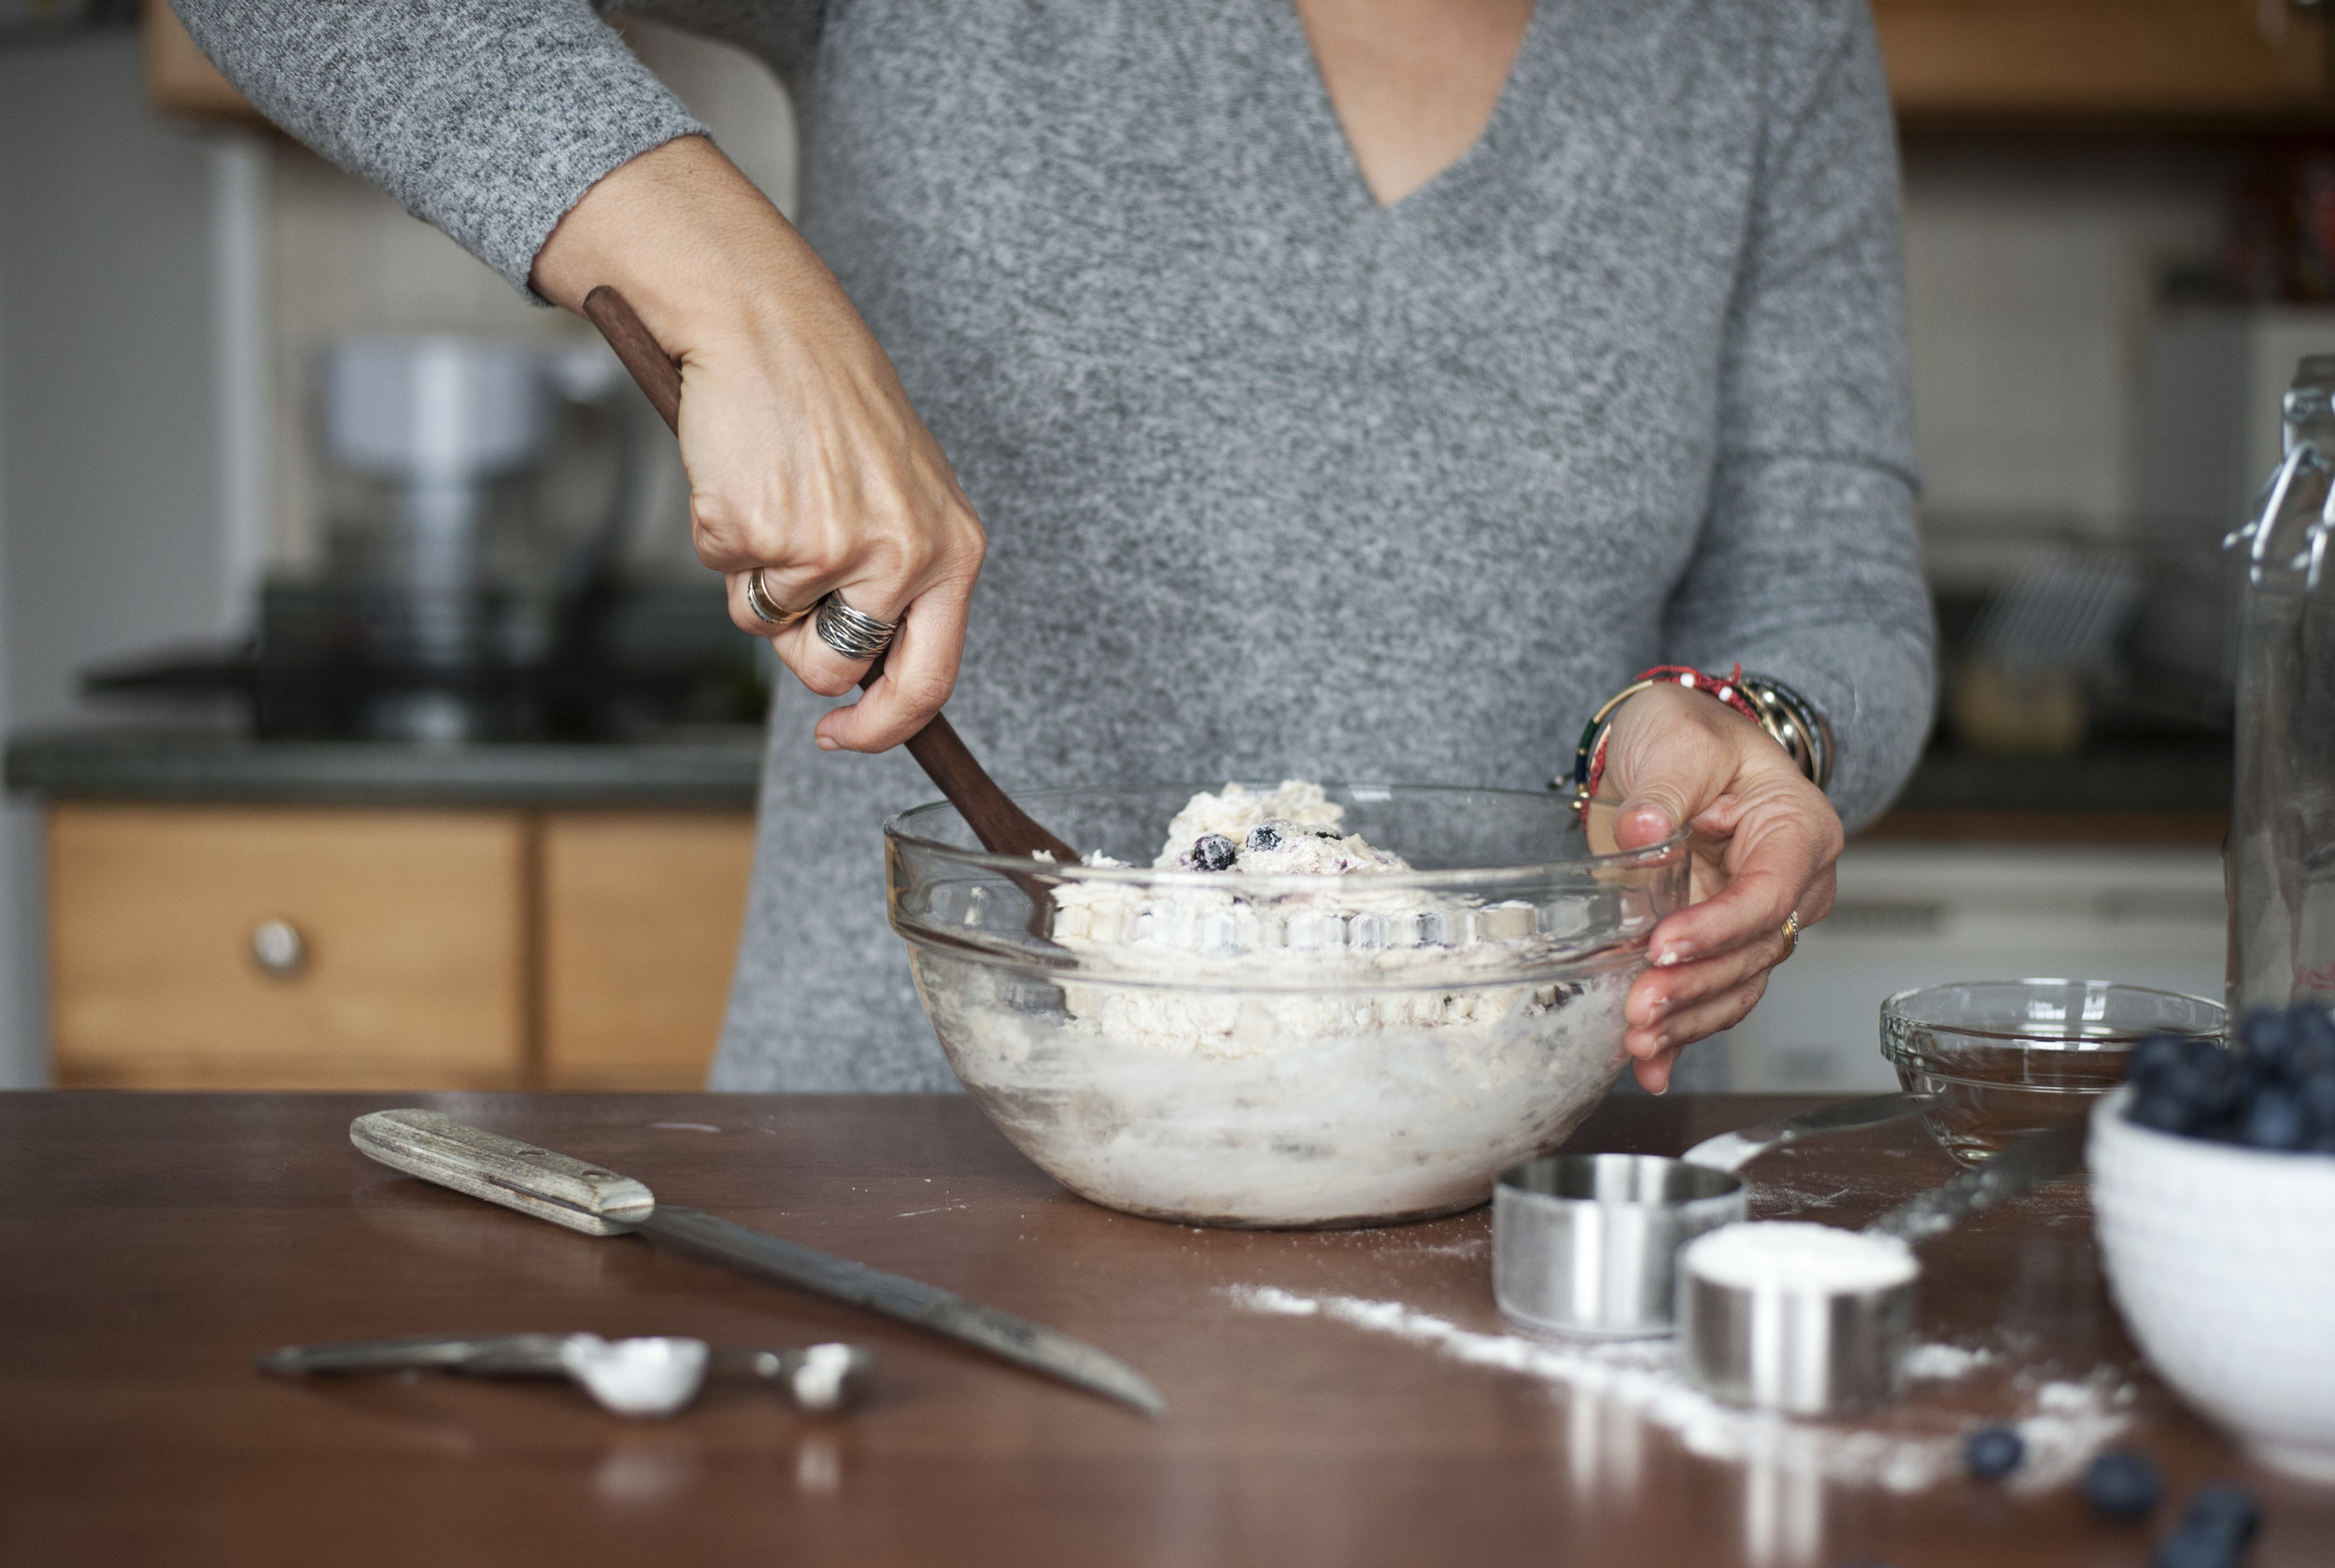
As soon as your drained pasta is back in the pot (and off the heat so your eggs don’t scramble) pour the egg and cheese mixture over the top and using tongs, thoroughly toss the pasta with the egg mixture. The eggs will cook as they come into contact with the hot pasta and will create a creamy sauce with the melted parmesan cheese. You may want to add a touch of the pasta water to achieve a creamier sauce. Then, toss in all of your cooked meats, bacon and most of the scallions and toss again. Cover with a lid for about a minute just to be sure that the egg sauce is cooked.
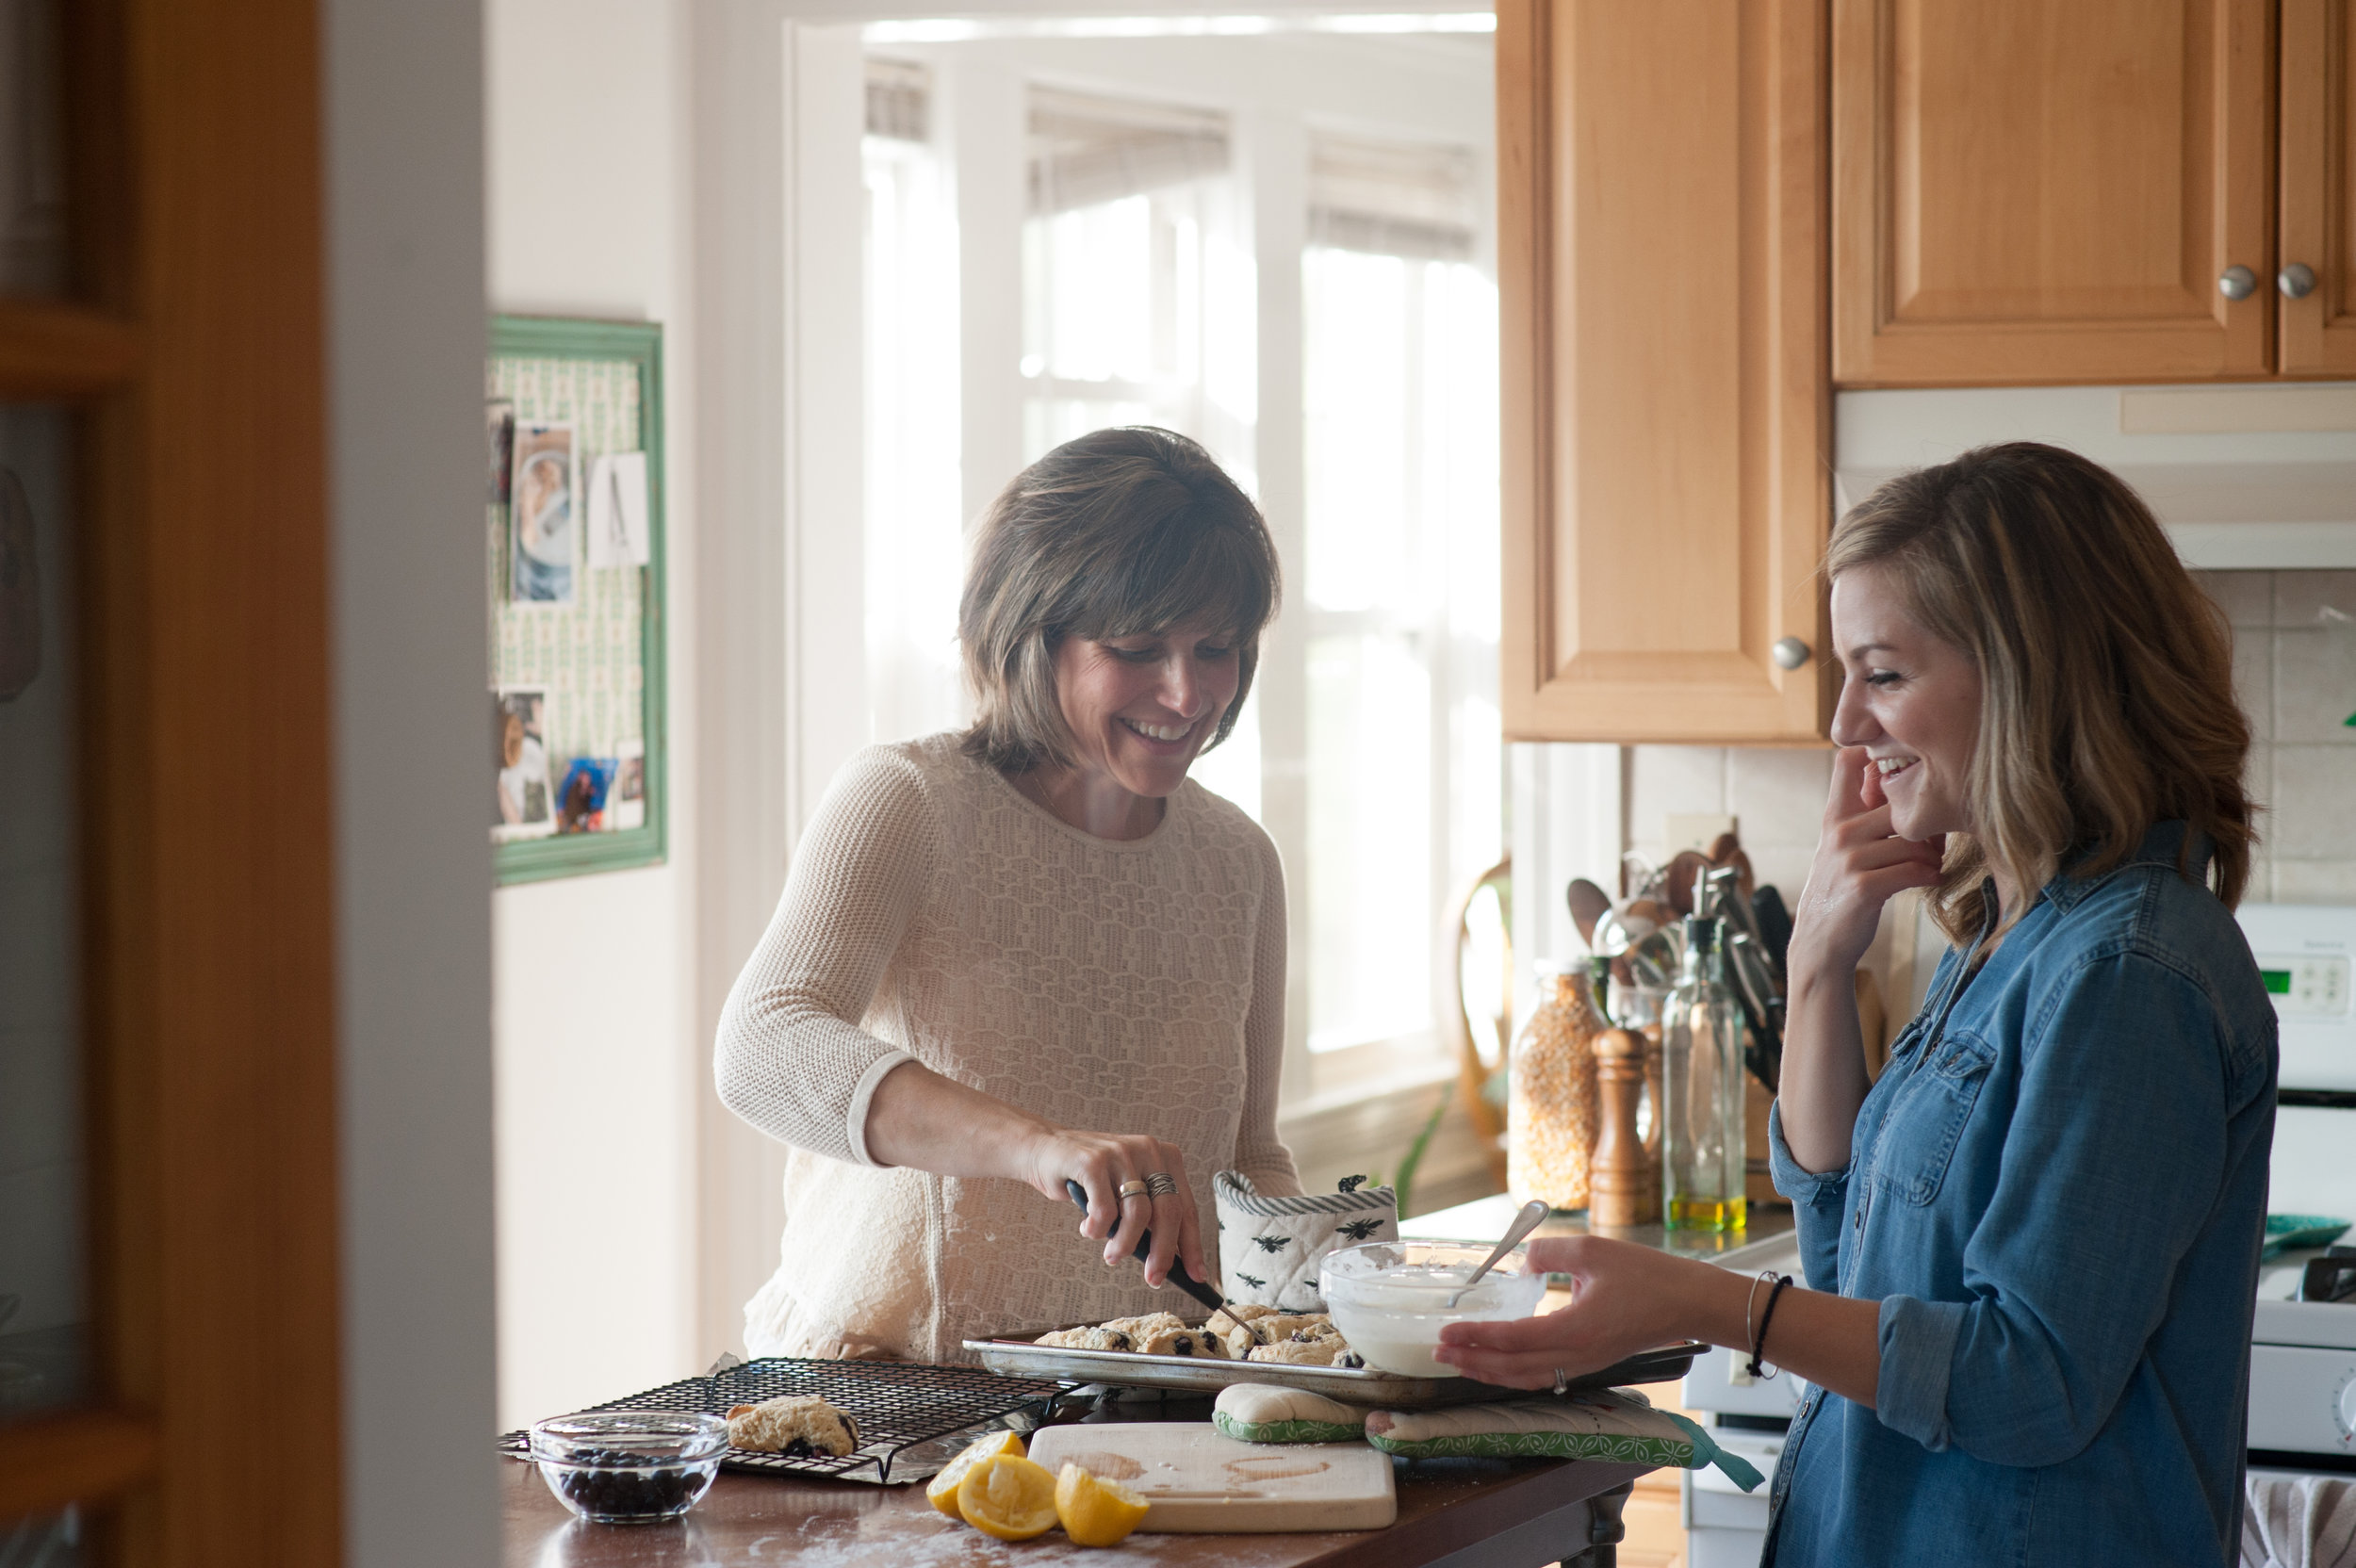
Finally, pour into a large serving bowl, garnish with remaining scallions and parmesan cheese and enjoy!