Hospitality & Joy

  • Home
  • About
    • The Cookbook
    • The Author
    • The Photographer
  • Recipes
  • Blog
    • Erin
    • Alexis
  • Order the Book
  • Events

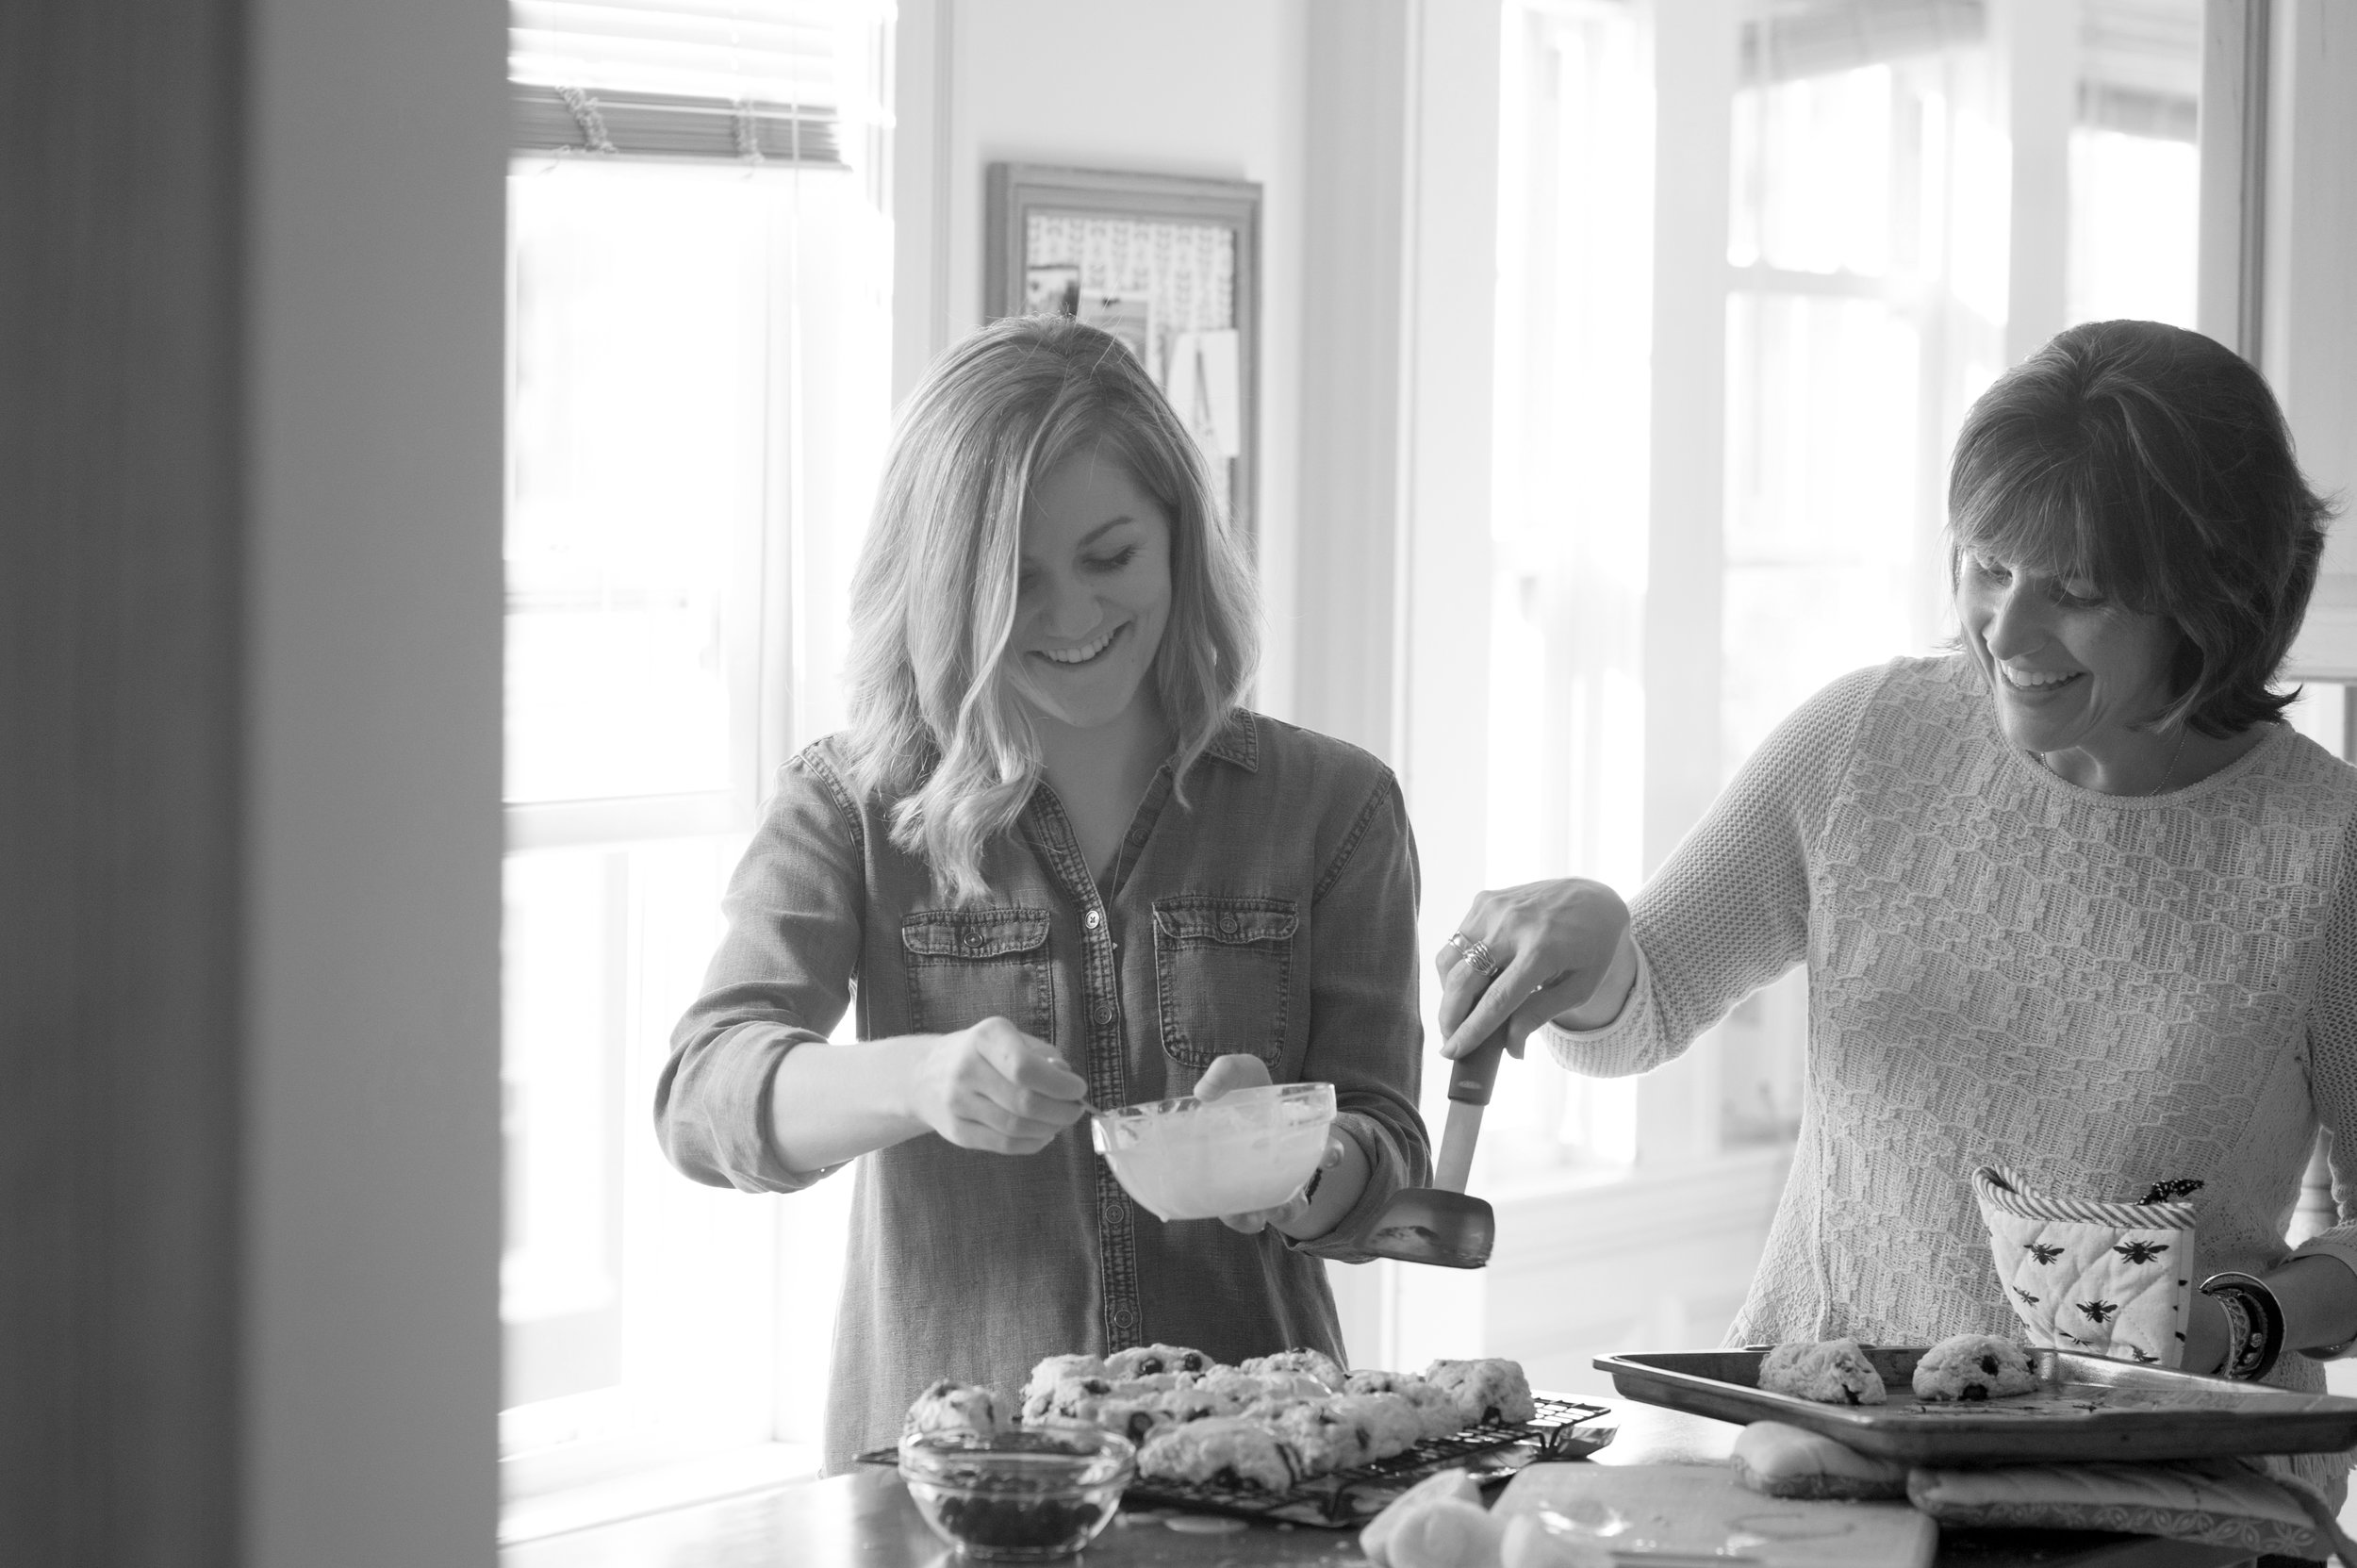
Lessons Learned from a Not-so-Delicious Apple Pie...

October 11, 2016 by Alexis El Massih in Alexis

Post & Photo: Alexis

Disclaimer: Although I thoroughly enjoy cooking, baking, and trying new recipes, I am still a newlywed and very much an amateur chef. Like Erin says, "I'm not a great chef, but I am a great collector of recipes." As I've mentioned before, I'm a serial recipe tester and always want to run before I walk. There are times the outcome has been surprisingly awesome, but more often than not, it turns out that valuable lessons are learned. A prime example of this would be the gorgeous, Food and Wine-ready Maple Apple Pie recipe I found a few weeks ago. I  must have spent a solid hour carving out the beautiful Nordic-style design on the crust! But sometimes looks can be deceiving. Here are a few lessons I learned from the beautiful, but not-so-delicious apple pie... 

1. Do not overwork the dough. You'll end up with the chewiest, impossible-to-cut pie crust. 
2. Follow your instincts when you read a recipe that calls for both a cup of maple syrup and a cup of sugar. You are probably correct in thinking that this is far too sweet a combination.
3. Bon Appétit gives great advice: even when it seems like too much, increase the amount of apples the recipe calls for and roast them separately before baking them in the pie. You'll avoid the shrinking pie problem and have a healthy, full-looking pie!
4. Try out the recipe before entering it into a pie baking contest...

October 11, 2016 /Alexis El Massih
Alexis
1.23.16.Cookbook_31.jpg
1.23.16.Cookbook_54.jpg
4.9.16.HJ_15.jpg
4.9.16.HJ_46.jpg
9.9.16.ByMitchell200.jpg
9.9.16.ByMitchell217-bw.jpg
9.9.16.ByMitchell178.jpg
9.9.16.ByMitchell191.jpg
9.9.16.ByMitchell382.jpg
1.23.16.Cookbook_31.jpg 1.23.16.Cookbook_54.jpg 4.9.16.HJ_15.jpg 4.9.16.HJ_46.jpg 9.9.16.ByMitchell200.jpg 9.9.16.ByMitchell217-bw.jpg 9.9.16.ByMitchell178.jpg 9.9.16.ByMitchell191.jpg 9.9.16.ByMitchell382.jpg

Professional "Dabblers"

September 24, 2016 by Alexis El Massih in Alexis

Post: Alexis
Photos: Alexis & Mitchell Morfas

I first met Erin when I visited her icon studio in hopes of learning the sacred art of iconography. While we did speak about icons that day, we also covered a myriad of subjects and found that we share many of the same passions: most notably our passion for food and hospitality! When Erin later shared her vision with me for the cookbook, Hospitality and Joy, we immediately found ourselves collaborating. Two years later, we have launched the cookbook pre-sale and you are reading the start of our Hospitality and Joy blog! This project has become our baby as we work nights and weekends or grab a few minutes at lunch to share ideas and plan the next shoot! 

Naturally, I've been blessed to spend much time with Erin during the planning and shooting process of the cookbook. It didn't take long for us to realize that we share the same blessing/curse of the "do it all" syndrome. We love so many different things and want to do EVERYTHING! I think she would wholeheartedly agree with me when I say that one of the biggest struggles in my life is that I don't have enough time or energy in my day to do, read, learn, and experience all of the things that I want to! Not only do we share a wide variety of creative interests and deep love for the Holy Orthodox Church, we often times find that we almost mirror each other in thought, habit, and all-around work ethic. We have many ideas and are always eager to turn them into action!

That being said, it was natural, perhaps even inevitable, that our conversation in her icon studio would lead to our collaboration on the cookbook and ultimately to the creation of this blog! The cookbook is a tribute to Erin's beloved Sitey (her grandmother) and an anthology of her hosting secrets and most popular recipes. The blog provides both Erin and I with a sharing space for the recipes and moments of our everyday lives. Our initial conversation over the sacred art of iconography has developed into a friendship and creative partnership that we hope will glorify God and inspire you to create memorable moments around your table.    

September 24, 2016 /Alexis El Massih
Alexis
8.20.16.Brunch_023.jpg
8.20.16.Brunch_028.jpg
8.20.16.Brunch_059.jpg
8.20.16.Brunch_106.jpg
8.20.16.Brunch_137.jpg
8.20.16.Brunch_023.jpg 8.20.16.Brunch_028.jpg 8.20.16.Brunch_059.jpg 8.20.16.Brunch_106.jpg 8.20.16.Brunch_137.jpg

Brunch at Bet L'mssih

September 14, 2016 by Alexis El Massih in Alexis

Post & Photos: Alexis


One Saturday morning this past February, my husband and I were eating breakfast together. Being that I'm a serial recipe tester, I made something new, thought it looked wonderful in the skillet, and of course, wanted to photograph and Instagram it. At that point in time, we had only been married three months, so when I decided to create a "Place" for our home on Facebook/Instagram, I realized that I technically shouldn't call it the "Campbell Casa" anymore. Rassem told me that "The Home of the El Massih's" or the "El Massih's home" in Arabic is "Bet L'mssih". I loved the way it sounded so much - like a sophisticated, fancy restaurant or even a cozy, French Country home. Why I thought this? I have no idea, but it spun into a conversation about how we would invite our friends and family to stay at "Bet L'mssih" and feed them eggs from the chickens in our backyard with Labneh, zaatar, coffee, and fresh bread straight from the oven. We both love any excuse to gather our friends and family, so naturally this "someday" conversation turned into a "tomorrow" conversation. We hosted brunch at Bet L'mssih the very next day after Sunday liturgy and served this Breakfast Shakshuka:

The meal and Instagram photo that started all of it...

The meal and Instagram photo that started all of it...

Six months later, when hosting brunch again, I introduced a couple of Campbell family classics to the El Massih's table: Mama's Honeybun Cake and Homemade Granola. 


Mama's Honeybun Cake

For the cake:
    1 1/4 cup all-purpose flour
    1 cup sugar
    2 tsp baking powder
    1/2 tsp baking soda
    1/4 tsp kosher salt
    3/4 cup oil
    1 - 8oz. sour cream
    4 eggs
    1 tsp. vanilla

For the swirl topping:
    1 cup brown sugar
    1 tsp. cinnamon
    1 cup chopped nuts (pecans or walnuts)

For the glaze:
    2 cups confectioner's sugar
    1 tsp. vanilla
    4 Tbsp. milk

Preheat the oven to 325 degrees Fahrenheit. Grease a 13x9 in. pan and set aside. Mix the cake ingredients well using an electric mixer. Pour batter into the prepared pan. In a small bowl, mix together the ingredients for the swirl topping. Sprinkle the mixture on top of the cake batter and swirl into the cake with a fork. Bake for 40-45 minutes.

When there is two to three minutes left on the timer, prepare the glaze by mixing the confectioner's sugar, vanilla, and milk together. After the cake is fully cooked, take the cake out of the oven, place on a cooling rack, and pour the glaze over while the cake is still hot. Leave cake to cool. Enjoy!


Homemade Granola

5 1/4 cups rolled oats
3/4 cup wheatgerm
3/4 cup shredded coconut
3/4 cup sunflower seeds
1 cup pepitas
1 cup almonds
1 cup hazelnuts, skinned
4 Tbsp canola oil or sunflower oil
4 Tbsp honey
4 Tbsp maple syrup
1 3/4 cups raisins

*makes about 12 cups*

Preheat the oven to 350 degrees Fahrenheit and line two baking sheets with parchment paper. 

Combine the oats, wheatgerm, coconut, seeds, and nuts in a large bowl, then divide this mixture in half, leaving half in the large bowl and setting aside the other half, covered, in a smaller bowl. 

Heat the oil, honey and maple syrup in a saucepan over low-medium heat for five to six minutes until the mixture is thin and runny, then pour it over the oat mixture in the large bowl. Mix really well with a spoon until well-coated but not too clumped together; if the mixture looks a bit wet, mix in some of the reserved dry oat mixture.

Divide the wet oat mixture between the prepared sheets, then bake for about one hour, shaking the sheets occasionally to make sure the  mixture cooks evenly. It should be a luscious golden color when it's done - take care not to let it darken too much. 

Remove the sheets from the oven and let the mixture cool completely, then tip it into a large bowl and combine with the reserved dry oat mixture and raisins. 

Serve in individual bowls with cold milk poured over and extra honey drizzled on top. Store the leftovers in an airtight container for up to two weeks. 

*Recipe adapted from What Katie Ate* 

September 14, 2016 /Alexis El Massih
Alexis
  • Newer
  • Older